Sublimation 101: What Every Beginner Needs to Know
Are you ready to dive into the exciting world of sublimation crafting? Whether you've seen those gorgeous custom mugs, vibrant t-shirts, or personalized home decor items and wondered "How do they do that?" – you're in the right place. Sublimation printing is one of the most rewarding craft techniques you can learn, and once you understand the basics, you'll be creating professional-quality projects in no time.
What Exactly Is Sublimation?
Sublimation might sound complicated, but it's actually a fascinating natural process. In science, sublimation occurs when a solid transforms directly into a gas without becoming a liquid first. Think about dry ice – it goes straight from solid to vapor, skipping the wet stage entirely.
In crafting, sublimation printing uses this same principle. Special sublimation inks are printed onto transfer paper, then heat and pressure transform those solid ink particles directly into gas. The gas penetrates the fibers or coating of your substrate (the item you're decorating), creating a permanent, vibrant image that won't crack, peel, or fade like traditional heat transfer methods.
Why Crafters Love Sublimation
Durability: Sublimated designs become part of the substrate itself, not just sitting on top like vinyl or regular transfers.
Vibrant Colors: The colors are incredibly vivid and can include photographic detail with smooth gradients.
Professional Results: Even beginners can achieve results that look store-bought.
Versatility: From apparel to home decor to promotional items, the possibilities are endless.
No Hand Feel: Unlike vinyl, sublimated designs don't add thickness or texture to fabric.
Essential Equipment You'll Need
Sublimation Printer
You'll need a printer specifically designed for sublimation inks. Popular beginner-friendly options include the Epson EcoTank series. Regular inkjet printers won't work because sublimation requires specific ink chemistry.
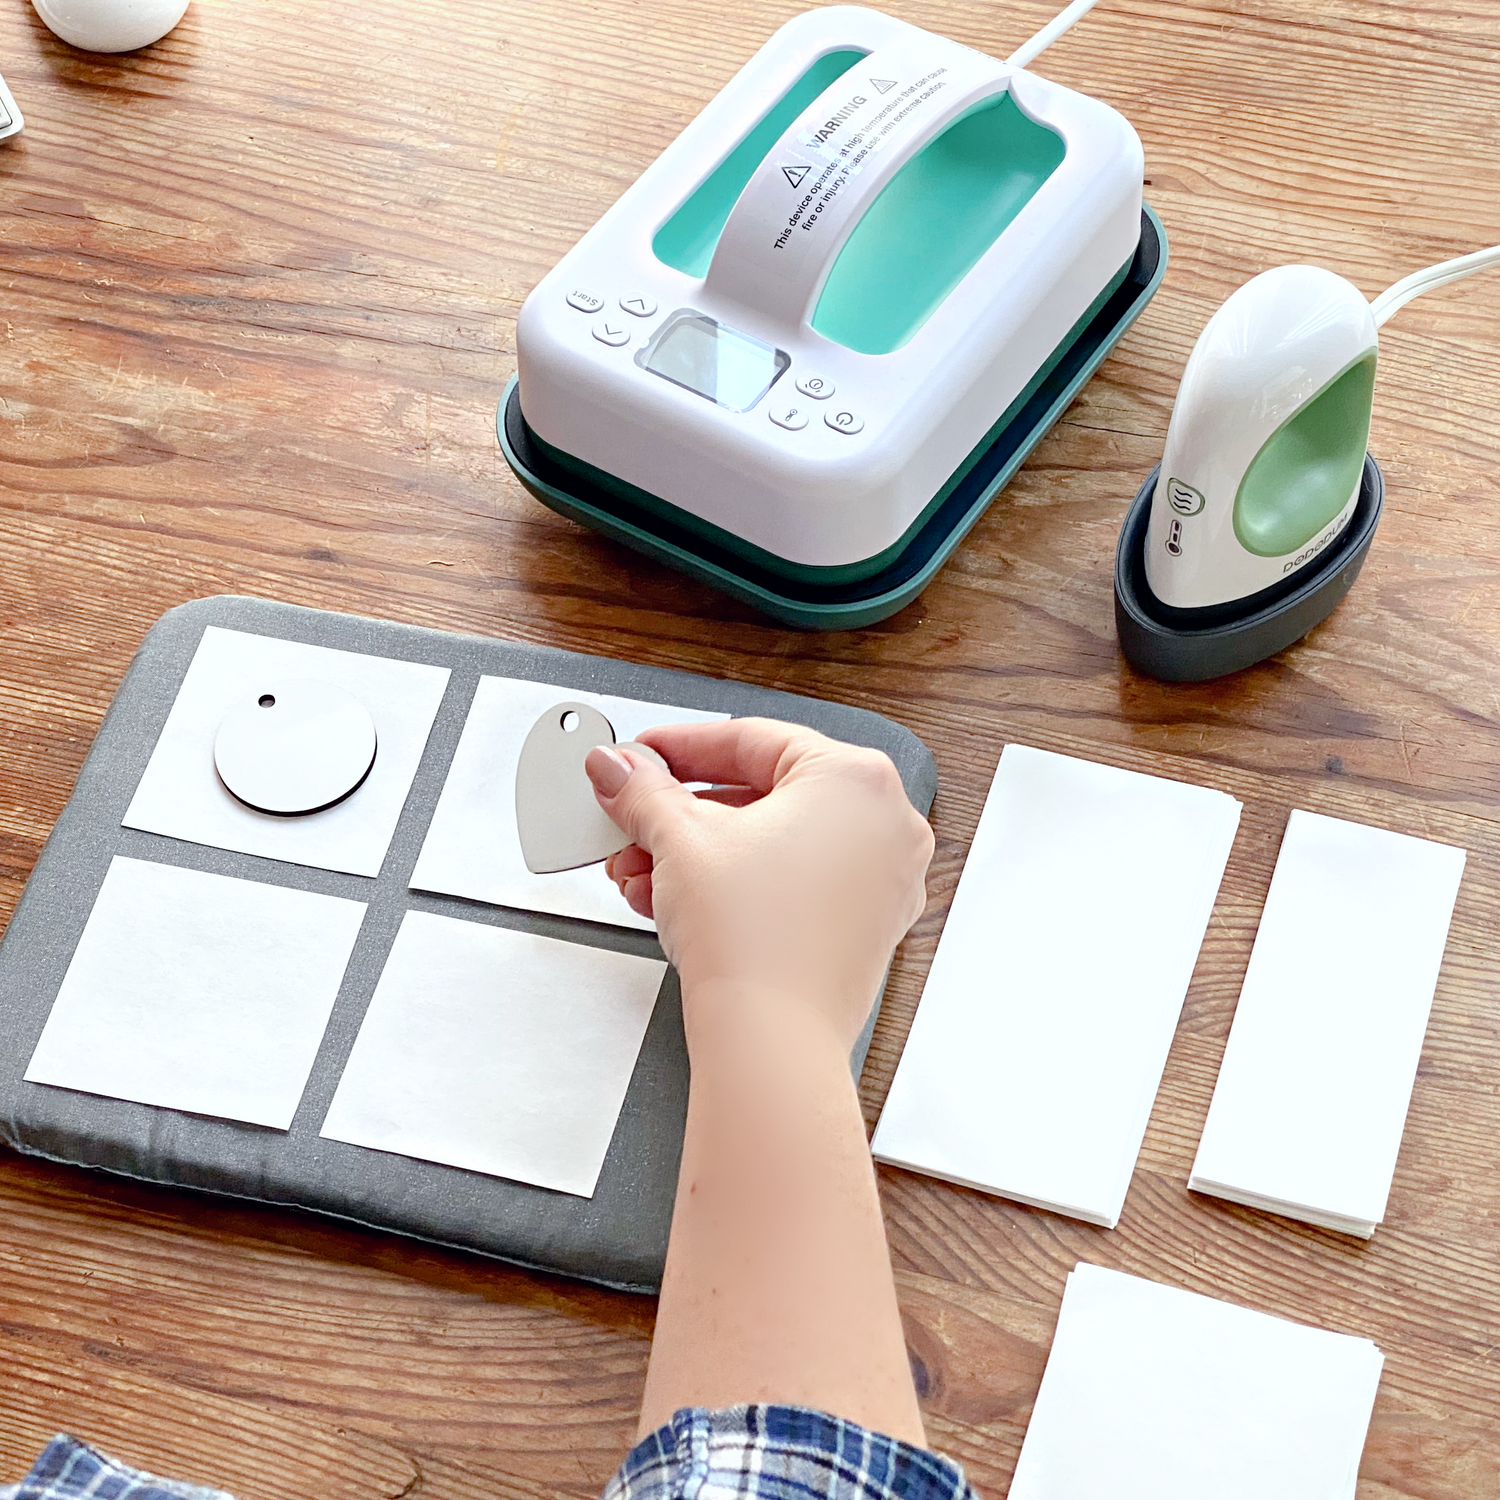
Heat Press
A quality heat press is crucial for consistent results. Look for one with:
- Even heat distribution
- Accurate temperature control
- Consistent pressure
- Timer functionality
Sublimation Paper
This specially coated paper holds the sublimation inks until they're transferred to your substrate. Quality matters here – cheap paper can cause bleeding or poor color transfer.
Substrates
Sublimation works best on:
- 100% polyester fabrics
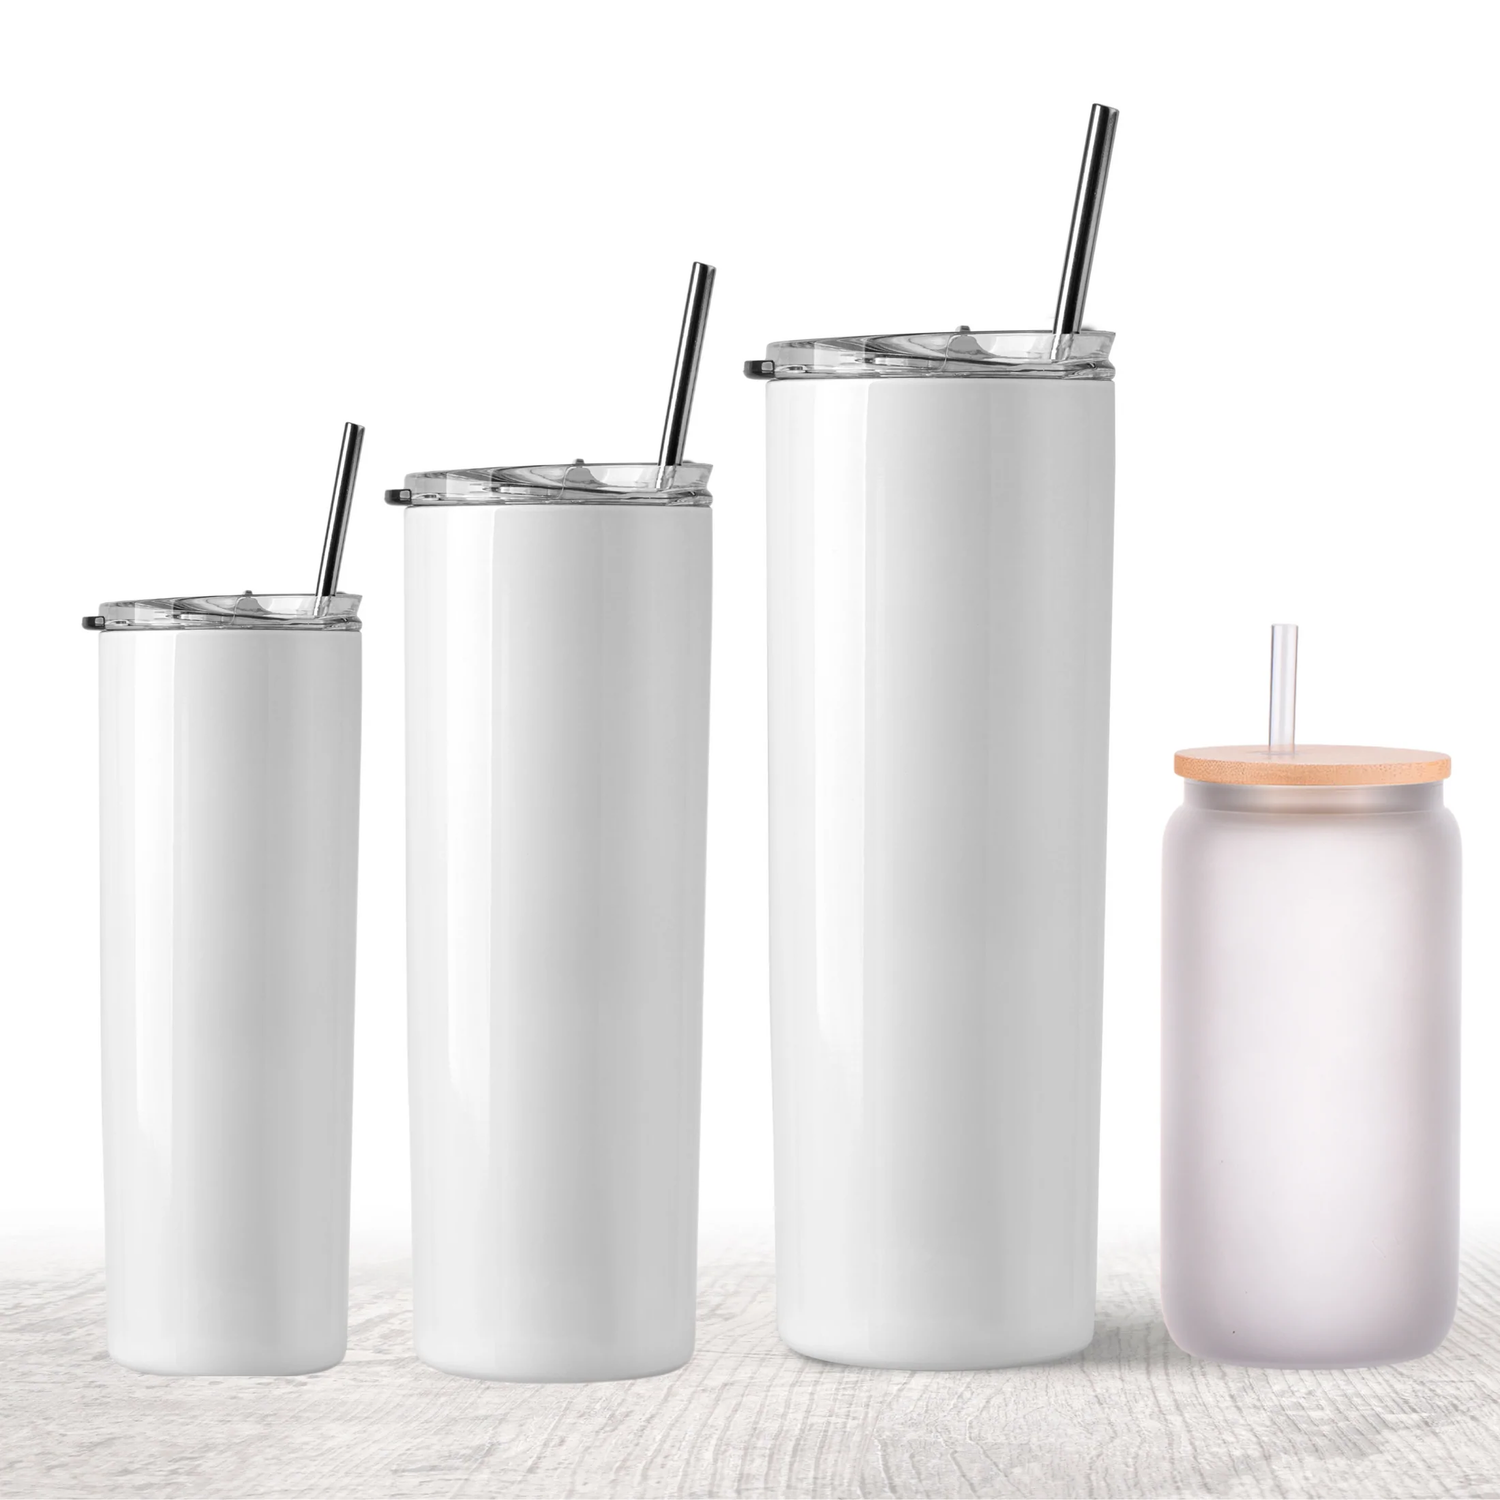
- Polymer-coated items (mugs, phone cases, etc.)
- Specially coated metals and ceramics
- Some synthetic blends (65% polyester minimum for good results)
Protective Materials
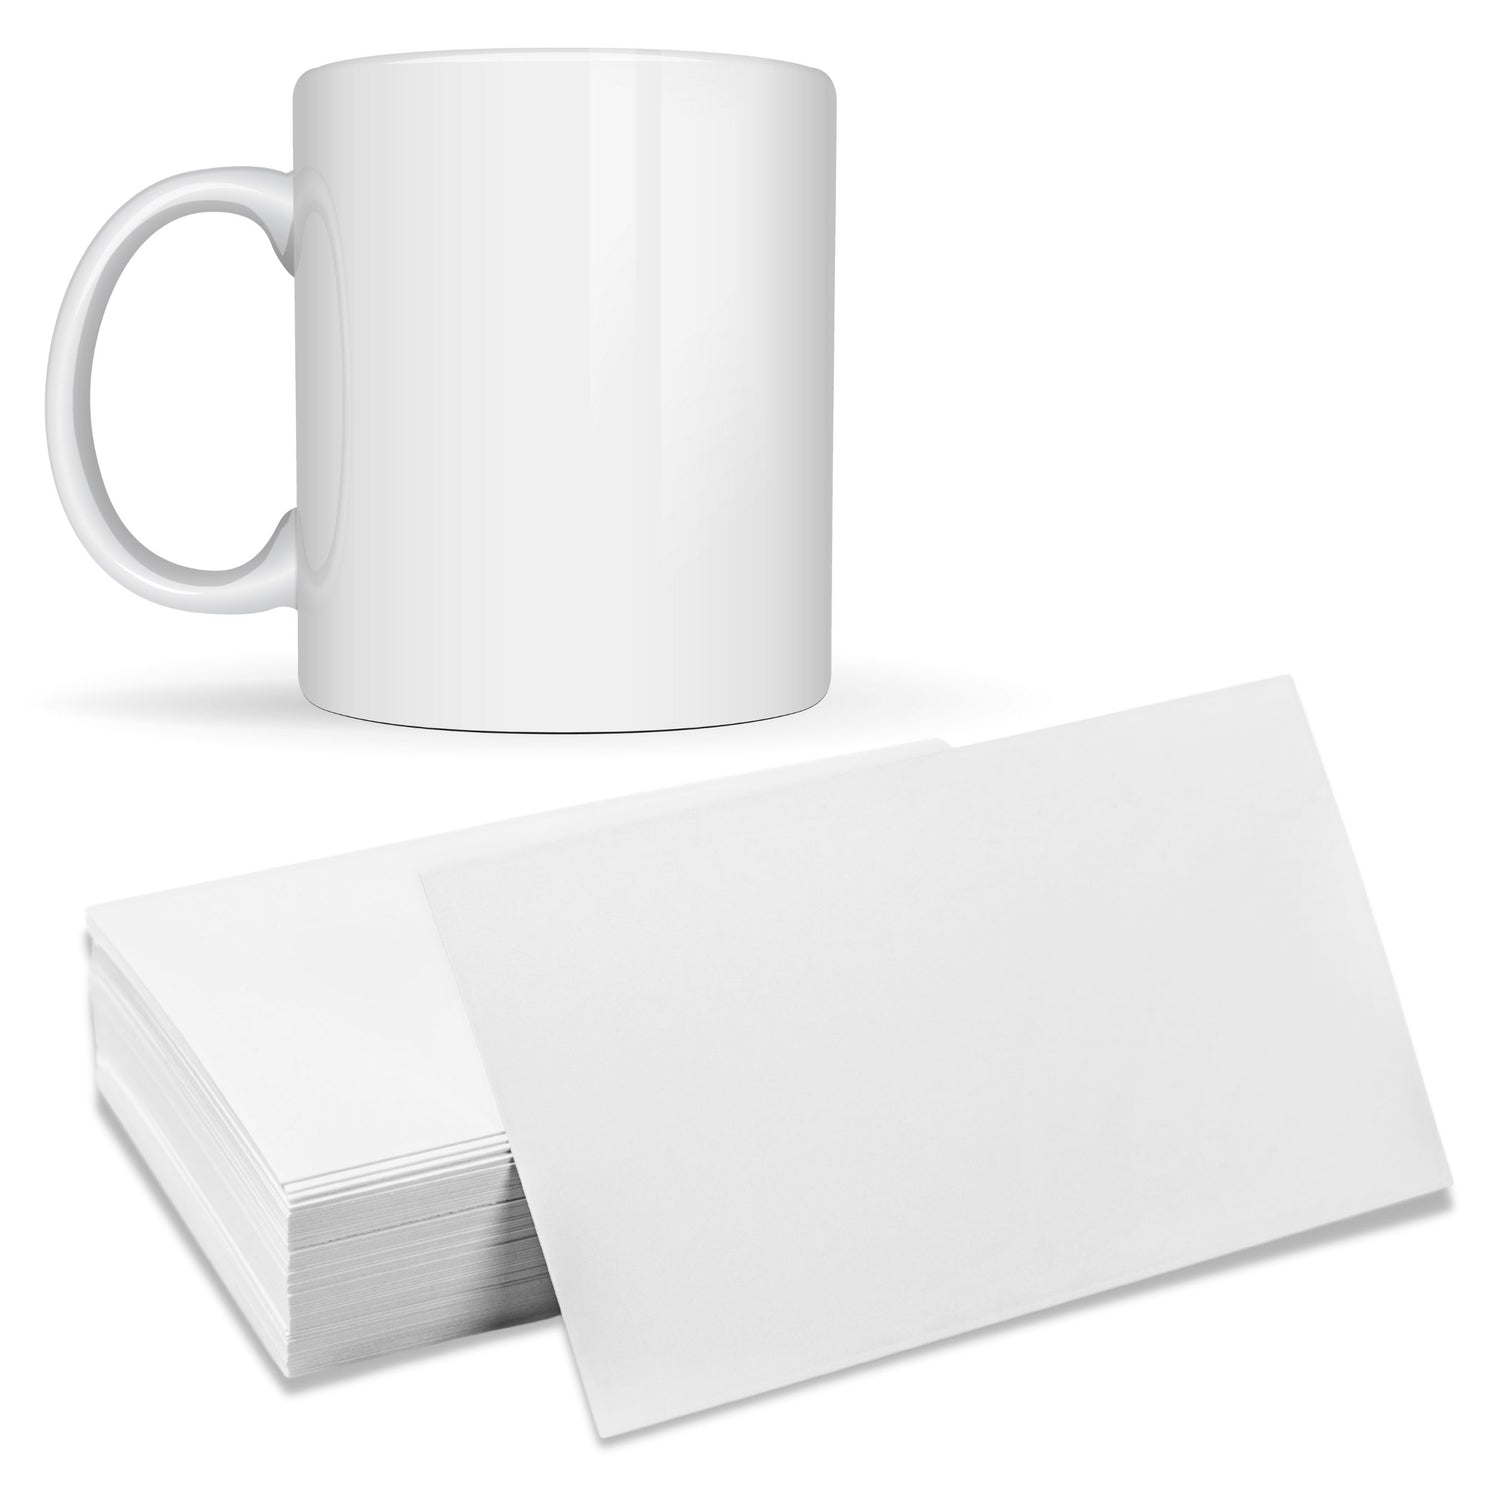
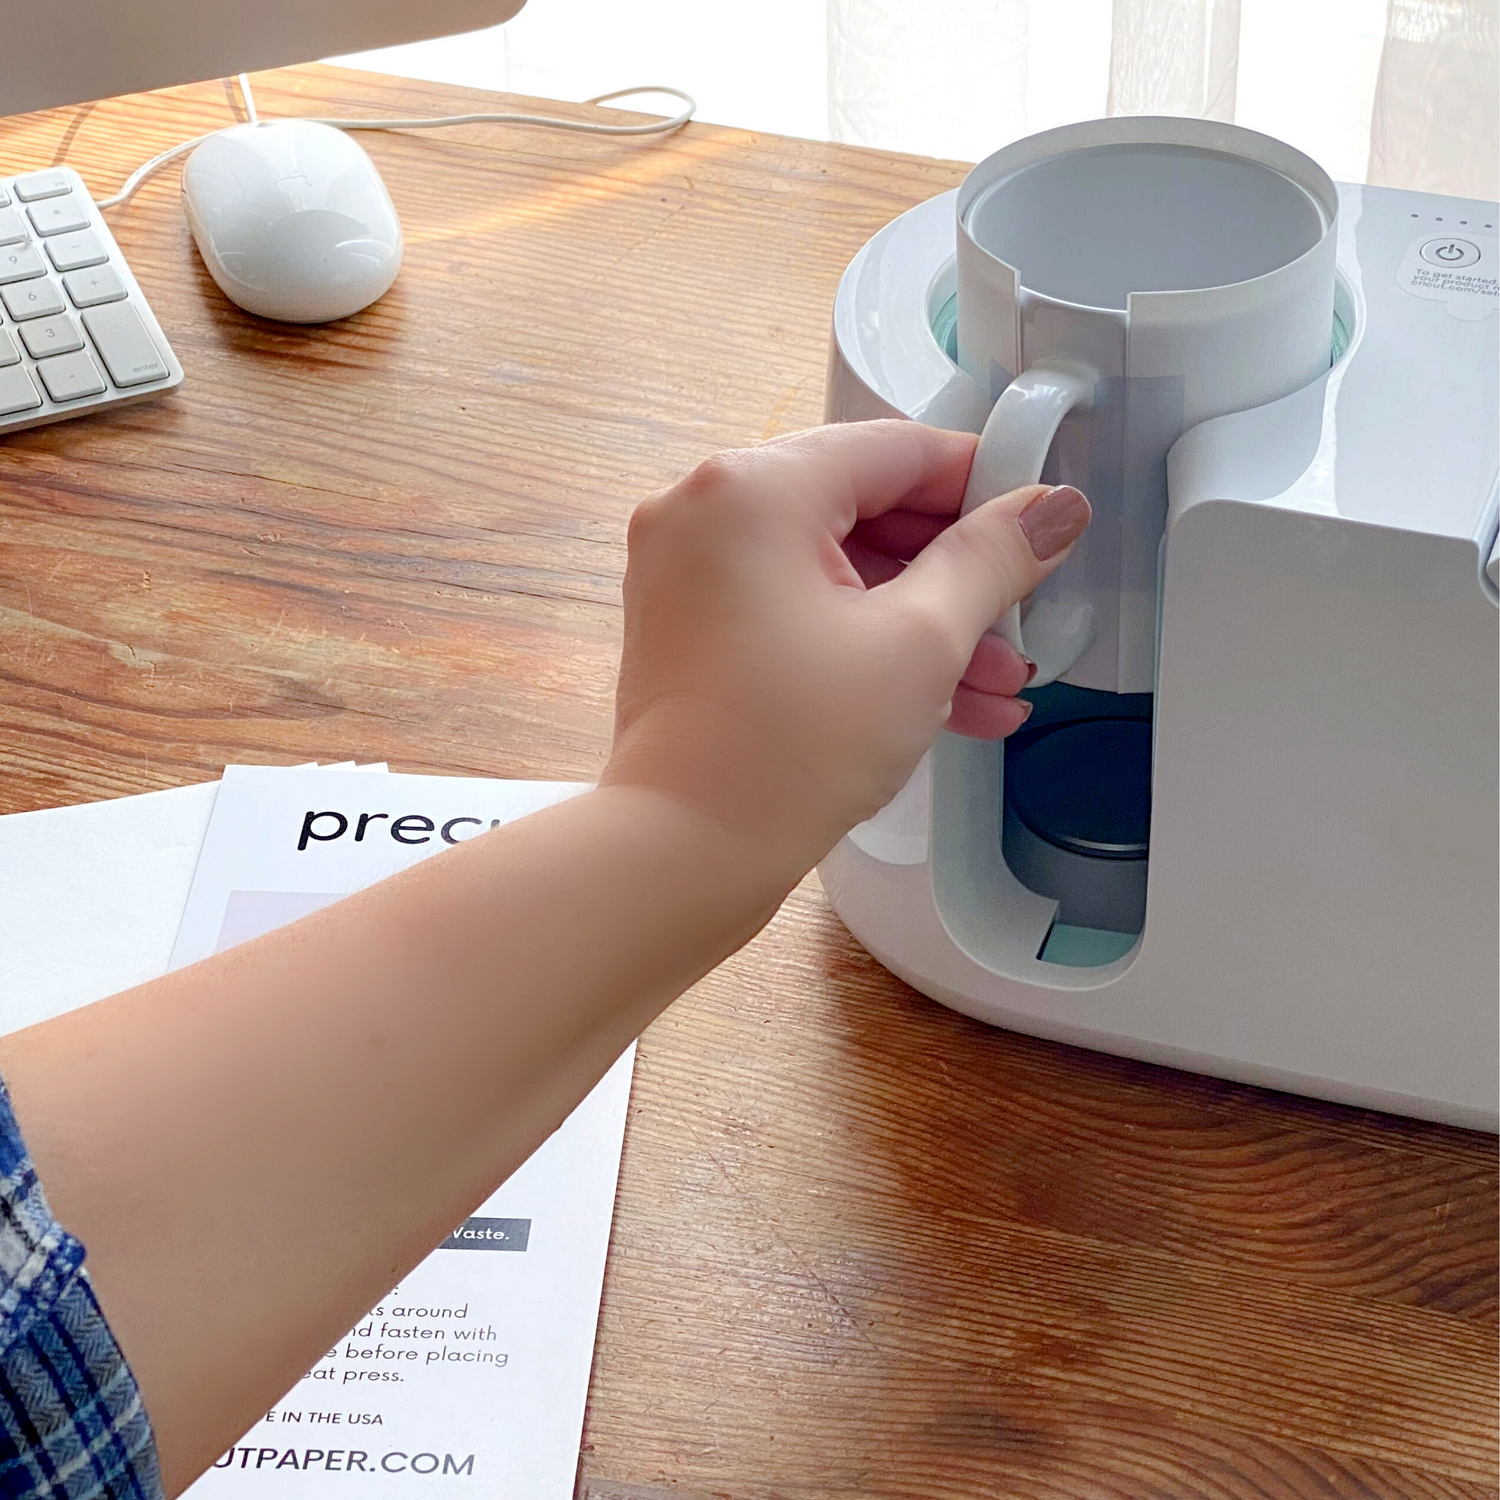
Here's where many beginners overlook a crucial component: protective materials. Butcher paper or Teflon sheets protect your heat press and ensure even heat distribution. Using precut butcher paper saves time and ensures you always have the right size for consistent results.
Understanding the Sublimation Process
- Design Creation: Create or choose your design using appropriate software
- Printing: Print mirror-image onto sublimation paper using sublimation inks
- Preparation: Position your design on the substrate
- Protection: Place protective paper above and below your project
- Heat Application: Apply the correct temperature, pressure, and time
- Cooling: Allow proper cooling before removing the transfer paper
Temperature and Time Guidelines
Different substrates require different settings:
- Polyester T-shirts: 400°F for 60 seconds
- Ceramic mugs: 400°F for 180 seconds
- Aluminum: 400°F for 60 seconds
- Phone cases: 356°F for 60 seconds
Always refer to your substrate manufacturer's recommendations, as these can vary.
Safety First
Sublimation involves high heat and chemical processes, so safety is paramount:
- Work in a well-ventilated area
- Use heat-resistant gloves
- Keep your workspace organized
- Never leave your heat press unattended
- Store inks and papers properly
Common Beginner Mistakes to Avoid
Using Cotton Fabrics: Sublimation needs polyester or polymer coatings to work properly.
Forgetting to Mirror Your Image: Text and directional designs must be printed in reverse.
Inconsistent Pressure: Uneven pressure leads to patchy transfers.
Skipping Protection: Not using protective paper can damage your heat press and affect results.
Rushing the Process: Each step needs proper time and attention for professional results.
Setting Yourself Up for Success
Start with simple projects like coasters or mouse pads before moving to more complex items. Invest in quality materials from the beginning – cheap supplies often lead to frustrating results and wasted time.
Keep detailed notes of your settings and results. What works for one brand of mug might not work for another, and having a reference helps you replicate successful projects.
Consider joining online sublimation communities where experienced crafters share tips, troubleshoot problems, and showcase their latest creations.
Your Next Steps
Now that you understand the basics, you're ready to start your sublimation journey. Begin with a simple starter project, take your time with each step, and don't be discouraged if your first attempts aren't perfect – every expert was once a beginner.
Remember, sublimation is both an art and a science. The more you practice and understand the process, the more creative and confident you'll become.
Ready to get started? Download our free Beginner's Sublimation Checklist below, complete with material recommendations, temperature charts, and project ideas perfect for your first attempts.
What's your biggest question about getting started with sublimation?

