Sublimation Mugs - Your Gateway to Coffee Shop Magic
Turn ordinary mornings into extraordinary moments
There's something magical about wrapping your hands around a warm mug filled with your favorite beverage, especially when that mug tells your story. Sublimation mugs aren't just drinkware – they're canvases for memories, motivation, and pure creativity. Whether you're crafting your first custom mug or launching a coffee-themed business, this complete guide will have you creating cafe-quality masterpieces from your own workspace.
What You'll Need to Get Started
Essential Equipment:
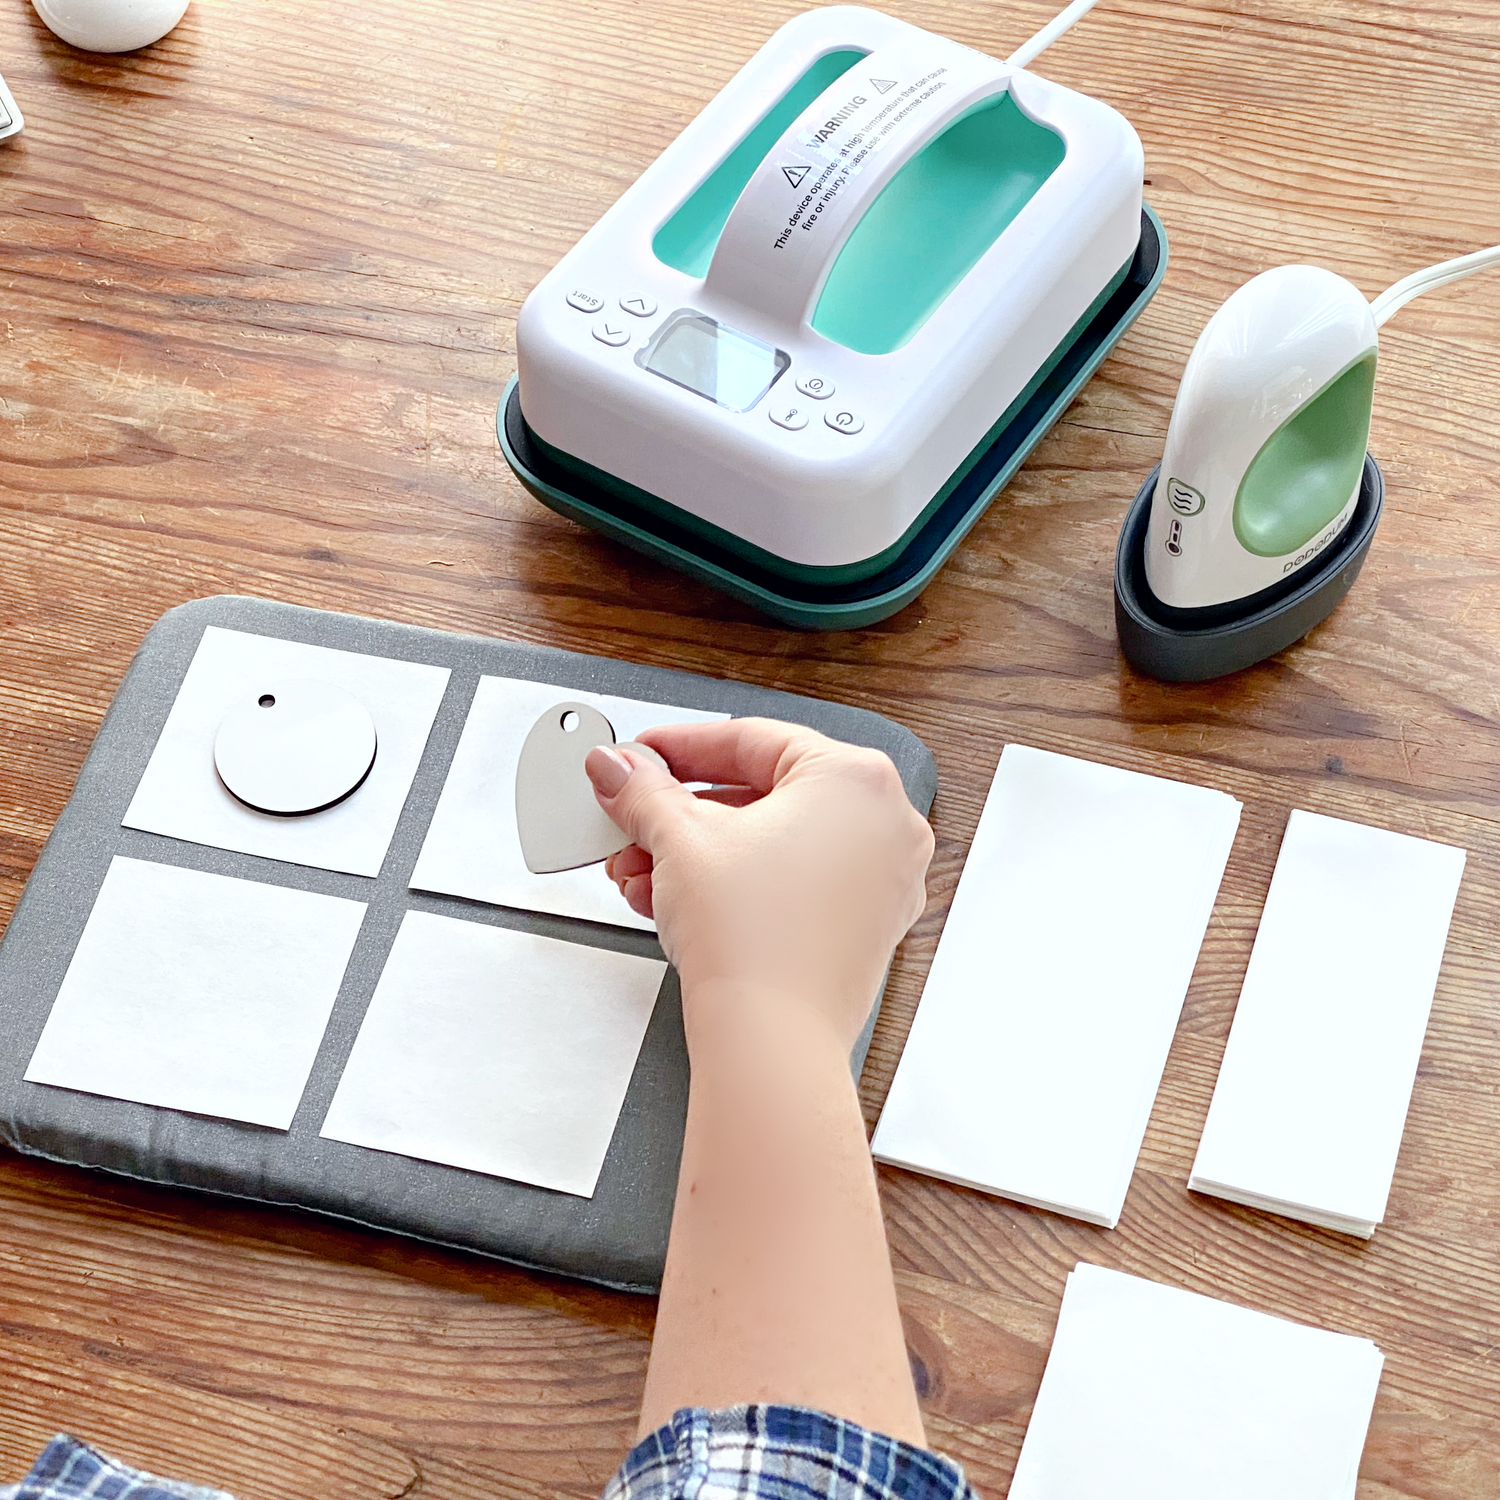
- Heat press (12" x 15" minimum) or dedicated mug press
- Sublimation printer (Epson EcoTank ET-2803, ET-4850, or similar)
- Sublimation ink (compatible with your printer model)
- Computer with design software (Canva, Photoshop, or free alternatives like GIMP)
Must-Have Supplies:
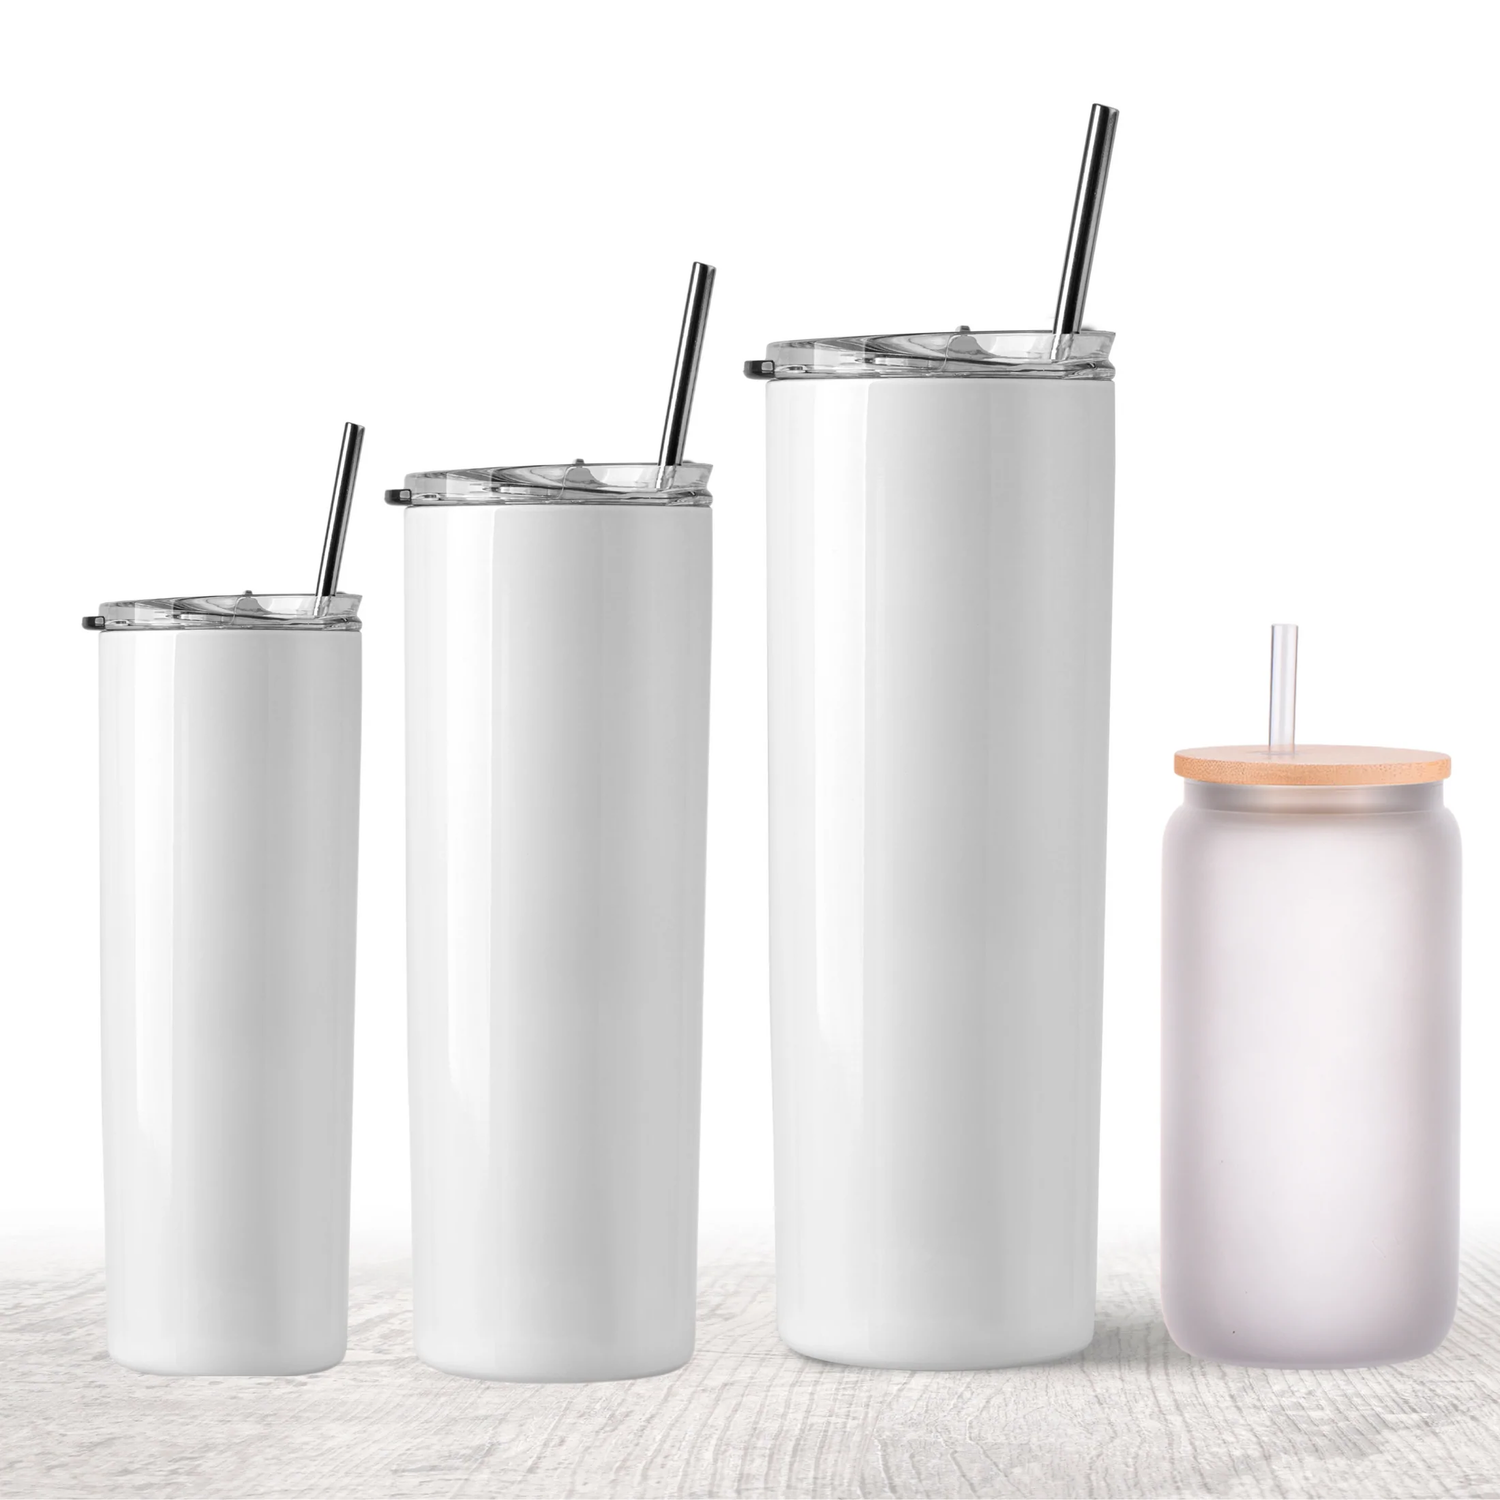
- Polymer-coated sublimation mugs (11oz, 15oz, or 20oz - start with 11oz for learning)
- Sublimation paper (high-quality for vibrant results)
- Heat-resistant tape (to secure your design)
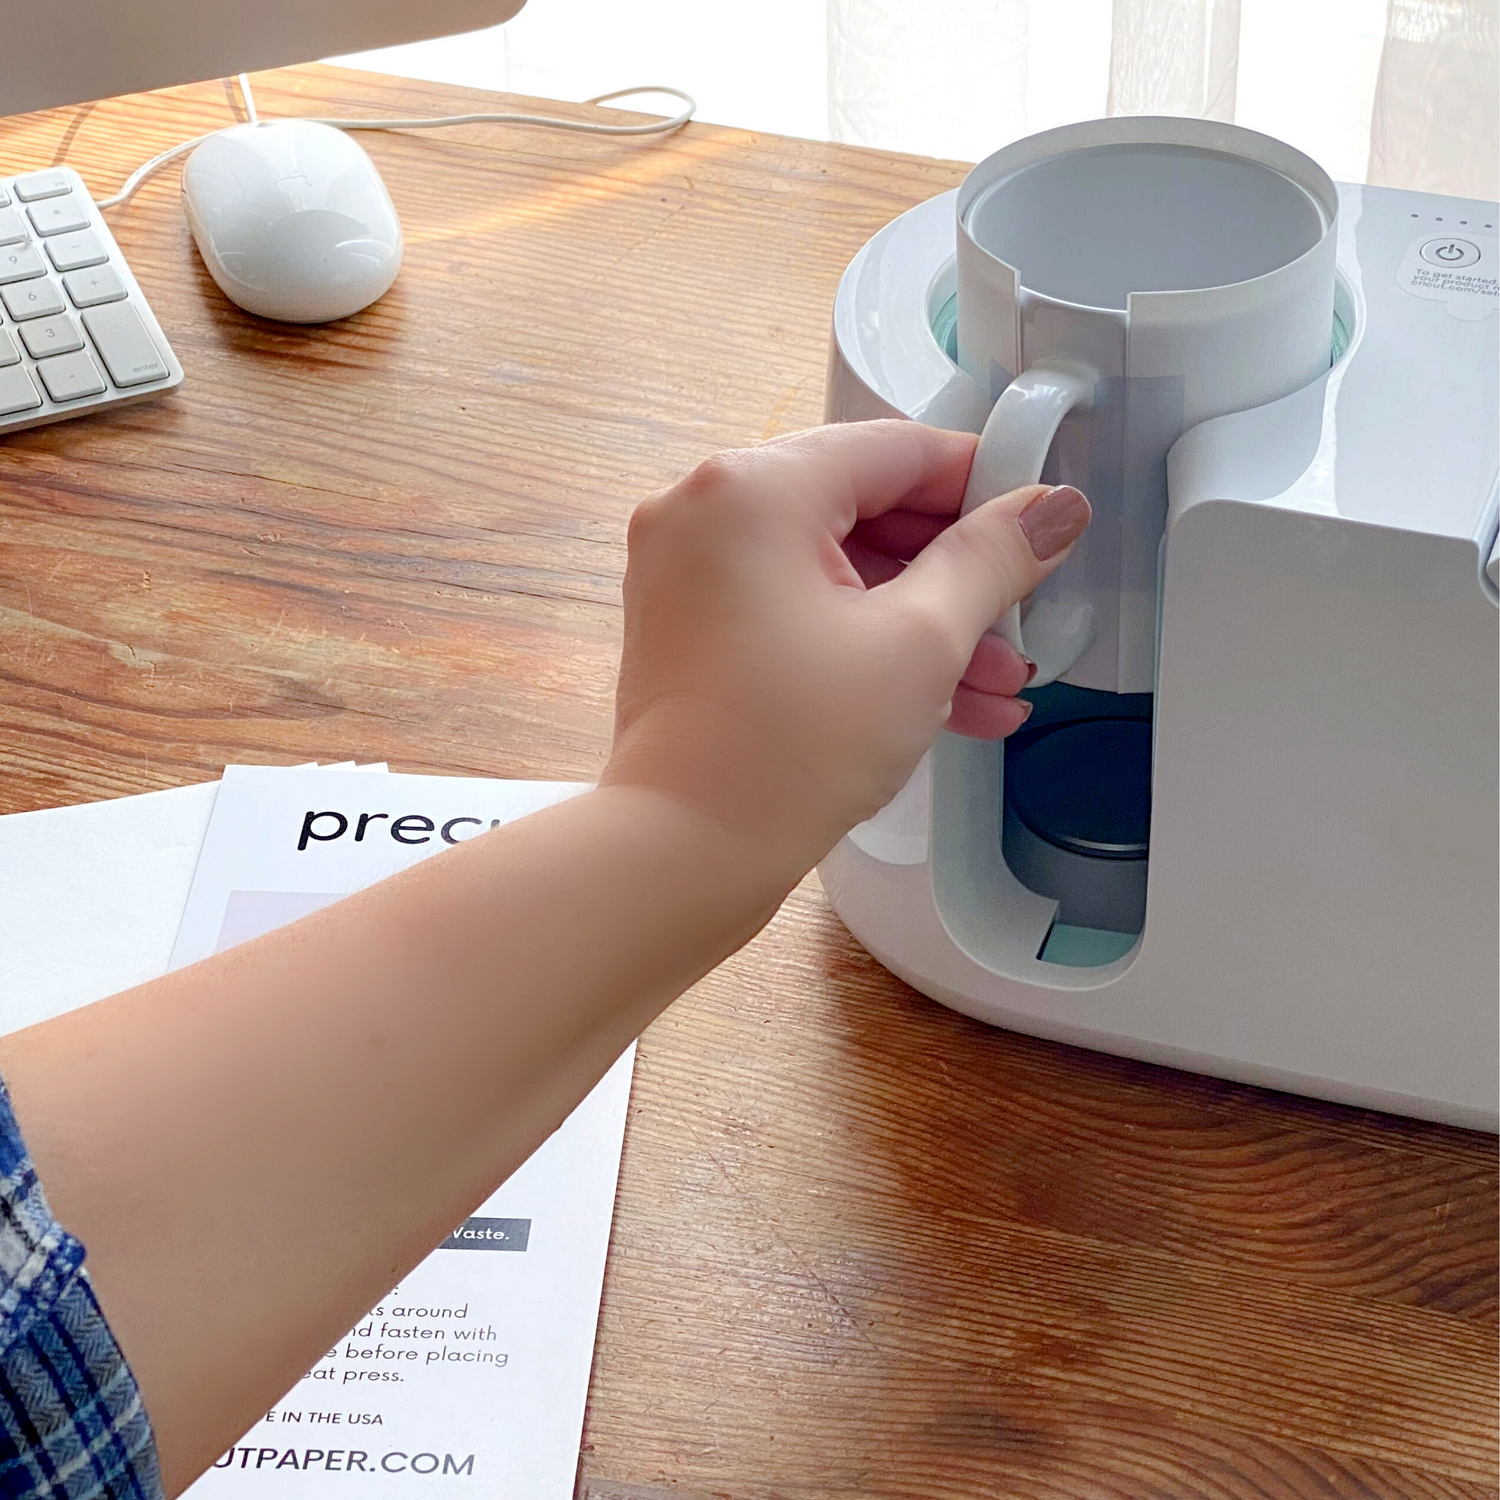
- Silicone mug wrap or shrink sleeve (ensures even heat distribution)
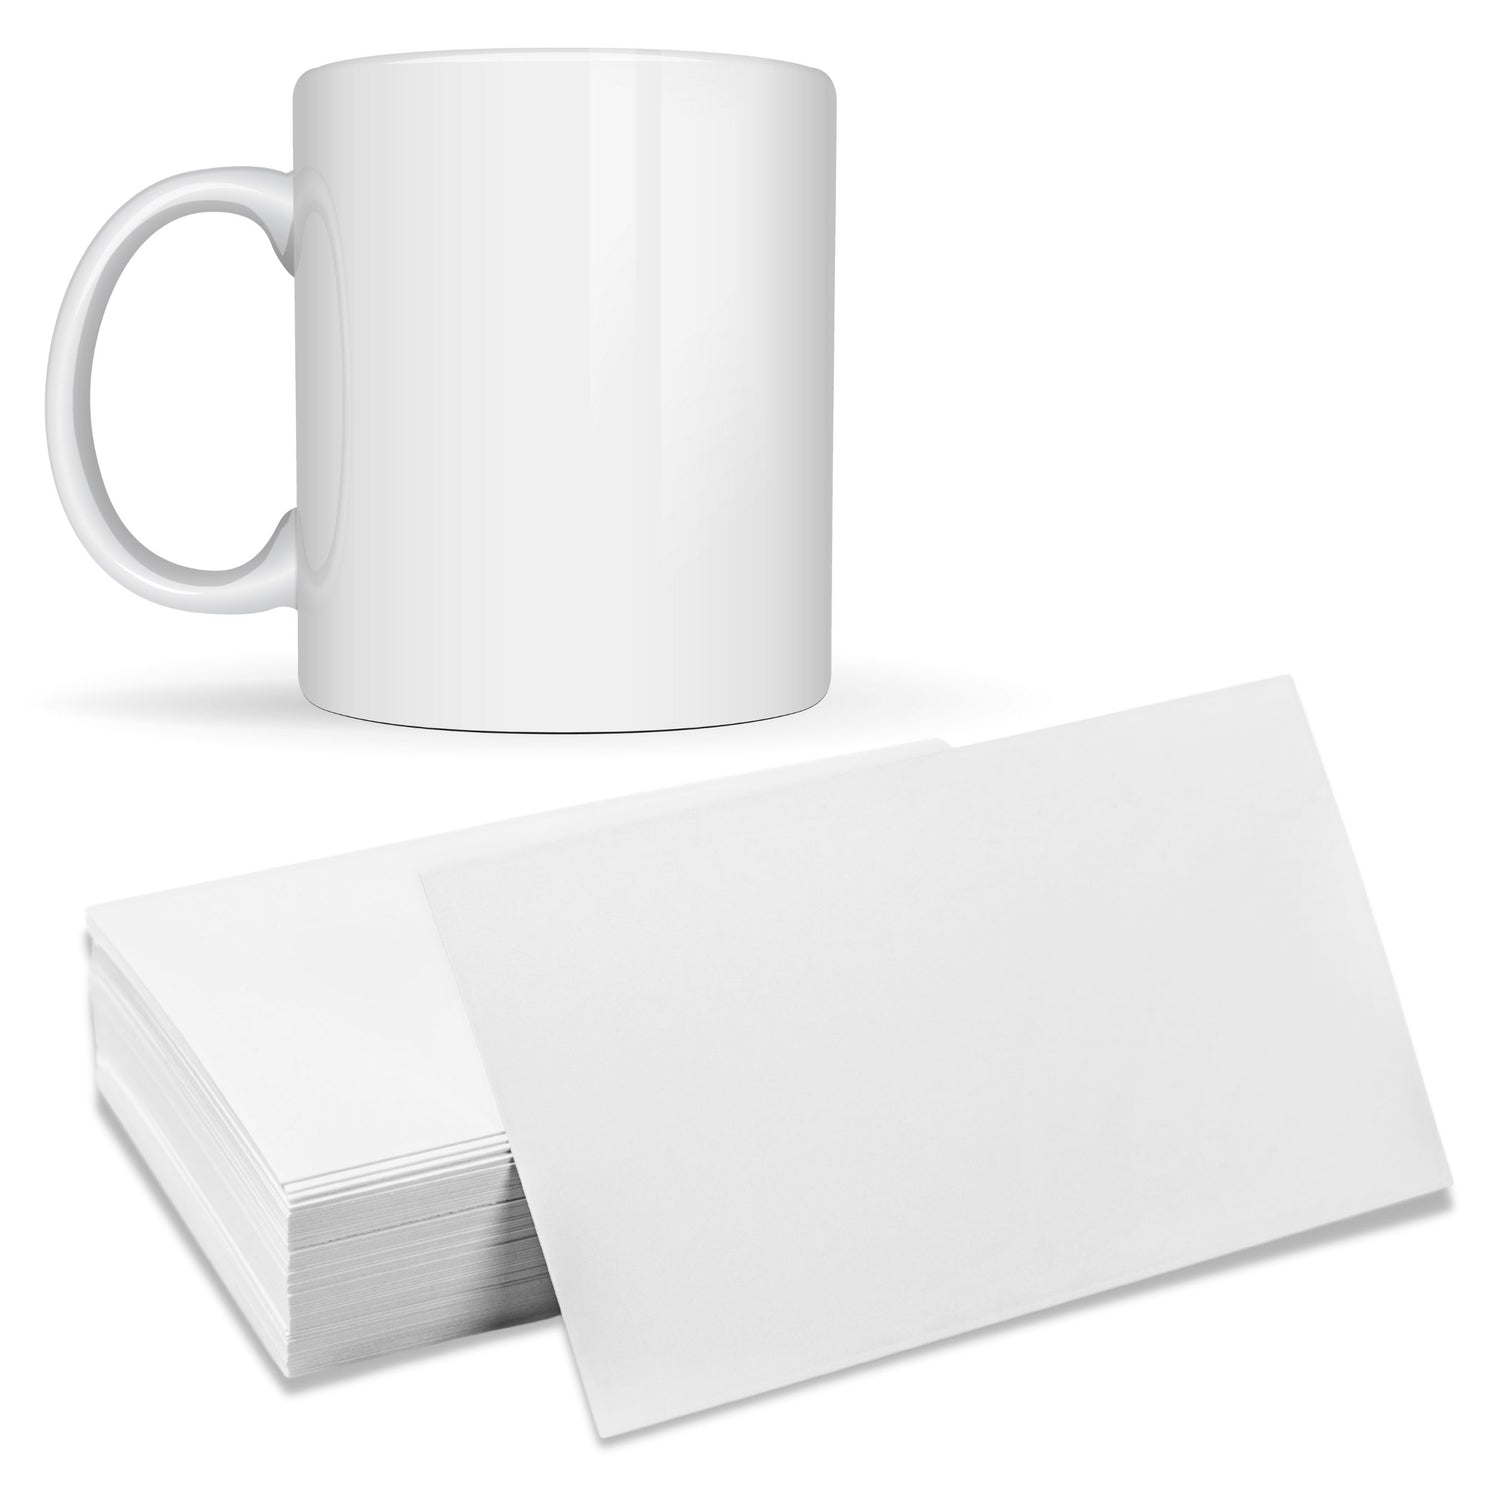
- Precut Butcher Paper - This is a game-changer! Instead of wrestling with rolls of protective paper, these pre-sized sheets offer incredible convenience. No more paper waste from cutting too much, completely silent operation (perfect for late-night crafting sessions), and effortless cleanup. Your workspace stays organized, and you'll never run out of small scraps again.
Design Essentials:
- 300 DPI minimum resolution - Your images will look crisp and professional
- Mirror your design before printing (this is crucial!)
- Design dimensions: 8.5" x 3.7" for standard 11oz mugs
- Leave 0.25" bleed area around your design for perfect coverage
The Magic Process: Step by Step
1. Design Creation
Think beyond simple photos. Mugs are perfect for:
- Inspirational quotes in beautiful typography
- Watercolor backgrounds with meaningful text
- Photo collages of family memories
- Gradient effects that wrap beautifully around curves
- Minimalist designs that make bold statements
Pro Design Tip: Dark colors on white mugs create stunning contrast, but don't overlook soft pastels for elegant, cafe-style aesthetics.
2. Print Preparation
- Use your printer's highest quality settings
- Print on the correct (coated) side of sublimation paper
- Let your print dry completely - rushing this step leads to smudging
- Handle prints carefully to avoid fingerprints on the ink
3. Heat Application Setup
- Preheat your mug for 30 seconds to remove any moisture
- Use a lint roller on the mug surface for perfect adhesion
- Position your design carefully - you only get one chance!
- Secure with heat-resistant tape, ensuring no air bubbles
- Wrap with your silicone sleeve or shrink wrap
4. The Press
- Temperature: 400°F (consistent temperature is key)
- Time: 6-8 minutes depending on your press and mug thickness
- Pressure: Medium pressure - too much can cause ghosting
- Protection: Place your Precut Butcher Paper above and below for clean results
5. The Magical Reveal
- Remove immediately after pressing (use heat-resistant gloves!)
- Peel the transfer paper while the mug is still warm
- Watch your design come to life in vivid, permanent color
- Allow to cool completely before handling
Creative Mug Designs That Wow (and Sell)
For Personal Use:
- Morning Motivation Mugs: Start each day with positive affirmations
- Photo Memory Mugs: Grandparents love grandchildren's artwork reproduced
- Hobby Themed: Coffee mugs for book lovers, gardening enthusiasts, pet parents
- Seasonal Collections: Holiday designs you can enjoy year-round
For Gifts That Matter:
- New Home Mugs: Coordinates of their new address with house photos
- Anniversary Mugs: Wedding photos with important dates
- Achievement Celebrations: Graduation, promotion, retirement commemoratives
- Pet Memorial Mugs: Honor beloved furry family members
Business Opportunities:
- Local Coffee Shops: Custom mugs with shop logos and local landmarks
- Corporate Gifts: Employee appreciation with company branding
- Wedding Favors: Couple's engagement photos with wedding date
- Real Estate Agents: Closing gifts with new home photos
Pro Tips for Mug Mastery
Before You Press:
- Always set the right temps (if using a Cricut Mug Press, it's automatic)
- Keep your workspace organized with labeled storage for different mug sizes
- Create templates for consistent positioning every time
- Take photos of successful setups for future reference
During the Process:
- Set a timer - consistency in timing creates consistent results
- Don't peek! Opening the press releases heat and affects color saturation
- Use Precut Butcher Paper fresh for each project - reused paper with ink spots can cause ghosting
- Keep a log of successful settings for different mug brands
After the Press:
- Check your press for ink spots
- Store finished mugs carefully to avoid scratches
- Package gifts immediately in protective wrapping
- Always include care instructions for recipients
Troubleshooting Like a Pro
Faded or Dull Colors?
- Check printer settings
- Increase temperature by 10-15 degrees
- Add 30-60 seconds to pressing time
- Check that your sublimation paper isn't expired
- Ensure your mug coating is suitable for sublimation
Ghosting or Double Images?
- Use fresh Precut Butcher Paper for each project
- Check that your design isn't shifting during pressing
- Reduce pressure slightly
- Ensure your silicone wrap is securing the design properly
Uneven Color Coverage?
- Check for air bubbles under your transfer before pressing
- Ensure even pressure across the entire design area
- Verify your mug surface is completely clean
- Consider if your mug has any dents or imperfections affecting contact
Colors Not Matching Your Screen?
- Calibrate your monitor for accurate color representation
- Use an ICC color profile for your specific printer and paper combination
- Remember that sublimation colors appear more vibrant after cooling
- Keep a color swatch reference for future projects
Building Your Mug Empire
Start Small, Dream Big:
- Begin with friends and family orders to build confidence
- Document your best work for a portfolio
- Join sublimation groups on social media for inspiration and troubleshooting
- Invest in quality materials - cheap supplies lead to disappointing results
Expand Your Offerings:
- Master different mug sizes and shapes
- Experiment with color-changing mugs for unique effects
- Add personalization services like names and dates
- Create themed collections for different interests
Professional Presentation:
- Invest in quality packaging for gift orders
- Create care instruction cards for customers
- Build a simple website or social media presence
- Price your work appropriately - factor in time, materials, and expertise
The Heart of Mug Magic
Every custom mug you create carries a piece of someone's story. That morning coffee becomes a moment of connection, remembrance, or motivation. You're not just transferring ink to ceramic – you're creating daily touchstones that bring joy, comfort, and meaning to ordinary moments.
Whether it's a grandmother's face smiling back from a morning cup of tea, an inspirational quote that pushes someone through a tough day, or a company logo that builds team spirit, your sublimated mugs become part of people's daily rituals and cherished memories.
Ready to Begin Your Mug Journey?
Your first perfect mug is just a press away! Start with a simple design, follow the process step by step, and don't be afraid to experiment. Every mistake teaches you something new, and every success builds your confidence.
Remember, even the most experienced sublimation artists started with their first mug. The key is consistency in your process, quality in your materials, and creativity in your designs. With Precut Butcher Paper eliminating waste and mess, high-quality blanks, and your unique artistic vision, you're ready to transform ordinary mugs into extraordinary expressions of creativity.
Grab your favorite design, fire up that heat press, and let's make some mug magic happen!
Quick Reference Settings:
- Temperature: 400°F
- Time: 6-8 minutes
- Pressure: Medium
- Paper: Precut Butcher Paper for protection
- Cool down: Complete cooling before handling
Happy mug making – may all your transfers be vibrant and true!

