Temperature & Time: The Science of Perfect Sublimation
Getting the perfect sublimation transfer isn't magic – it's science. Understanding the relationship between temperature, time, and pressure is what separates okay results from stunning, professional-quality projects that make people ask "Where did you get that made?"
The sublimation process is essentially a controlled chemical reaction. When you apply the right combination of heat, pressure, and time, solid sublimation ink particles transform directly into gas and bond permanently with the polyester fibers or polymer coating of your substrate. Get any part of this equation wrong, and you'll end up with faded colors, incomplete transfers, or worse – damaged substrates.
The Science Behind the Settings
Temperature: The Catalyst
Temperature is what triggers the sublimation reaction. Too low, and the ink won't fully sublimate, leaving you with dull, incomplete transfers. Too high, and you risk scorching your substrate or causing the inks to "blow out" – dispersing too quickly and creating blurry images.
Most sublimation occurs between 350°F and 425°F, but the sweet spot varies by substrate material and thickness.
Time: The Duration Factor
Time allows the sublimation reaction to complete. Insufficient time means incomplete ink transfer, while too much time can cause ghosting (where the transfer paper sticks and creates a shadow effect) or substrate damage.
Pressure: The Driving Force
Consistent, even pressure ensures complete contact between your transfer and substrate. Uneven pressure creates patchy results, while insufficient pressure prevents proper ink penetration.
Essential Temperature Charts
Fabric Substrates
100% Polyester T-Shirts
- Temperature: 400°F
- Time: 45-60 seconds
- Pressure: Medium to Heavy
Polyester Blend (50/50)
- Temperature: 385°F
- Time: 50-60 seconds
- Pressure: Medium to Heavy
- Note: Colors will be more muted due to cotton content
Performance/Athletic Wear
- Temperature: 385°F
- Time: 45-50 seconds
- Pressure: Medium
- Often has moisture-wicking treatments that require lower temps
Hard Substrates
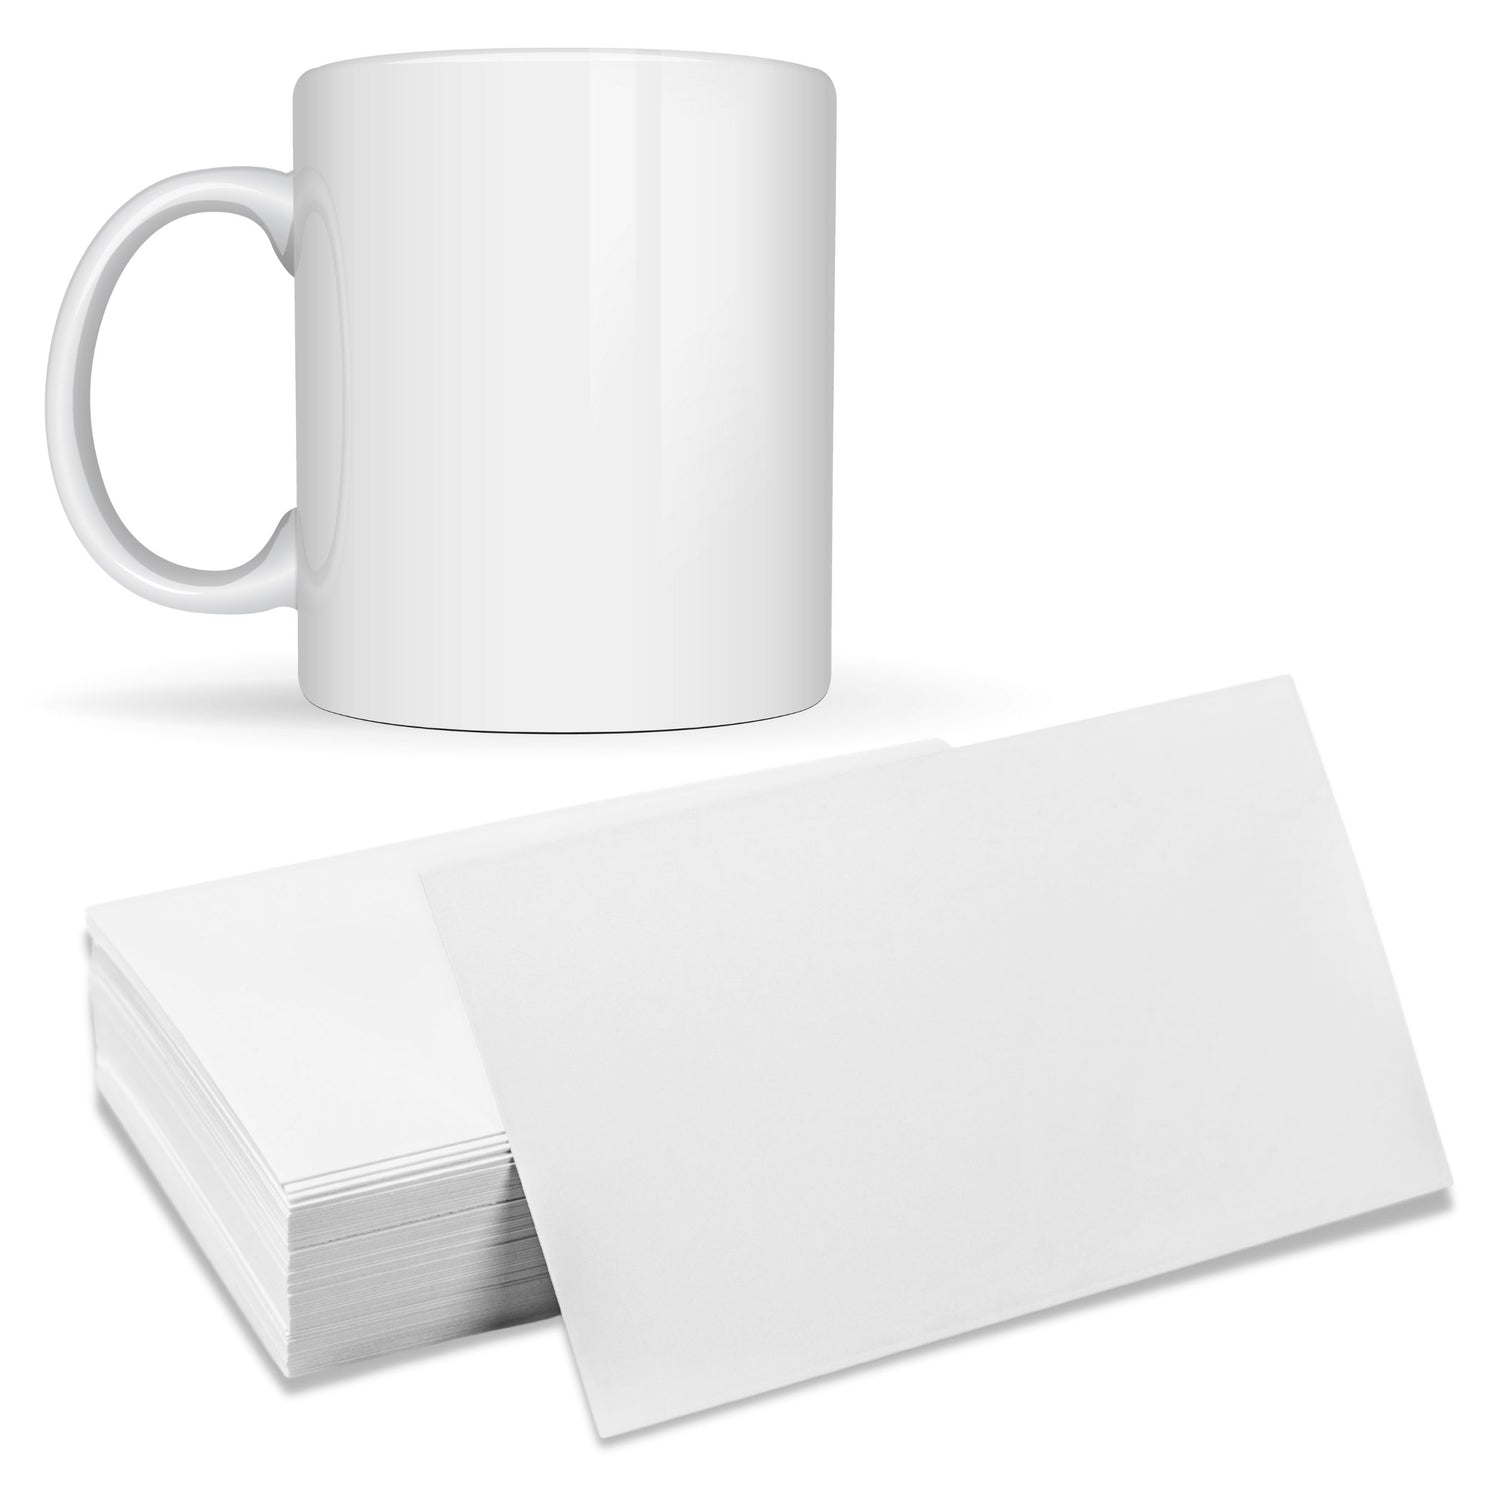
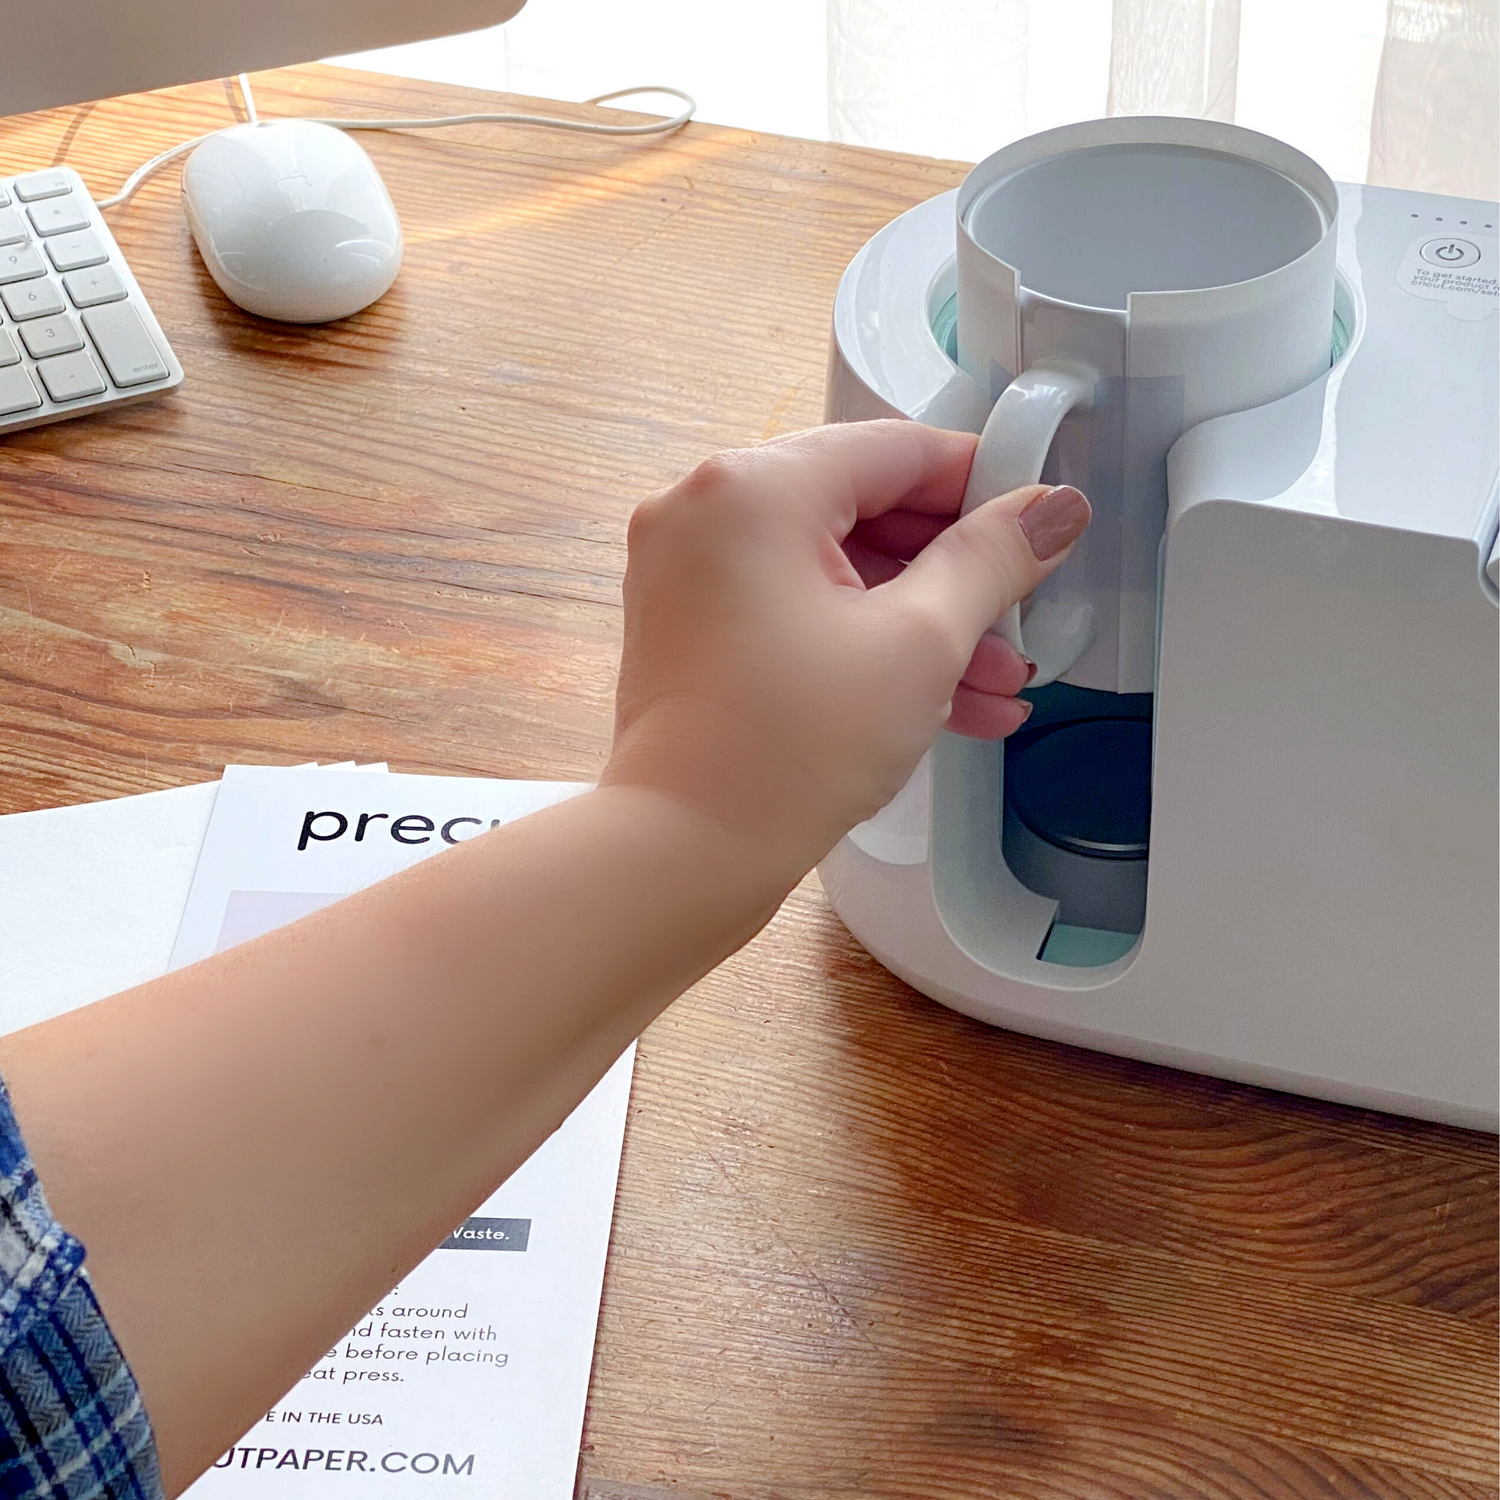
Ceramic Mugs (11oz standard)
- Temperature: 400°F
- Time: 180-240 seconds
- Pressure: Light to Medium
- Use mug press attachment for even heating
Aluminum Photo Panels
- Temperature: 400°F
- Time: 45-60 seconds
- Pressure: Heavy
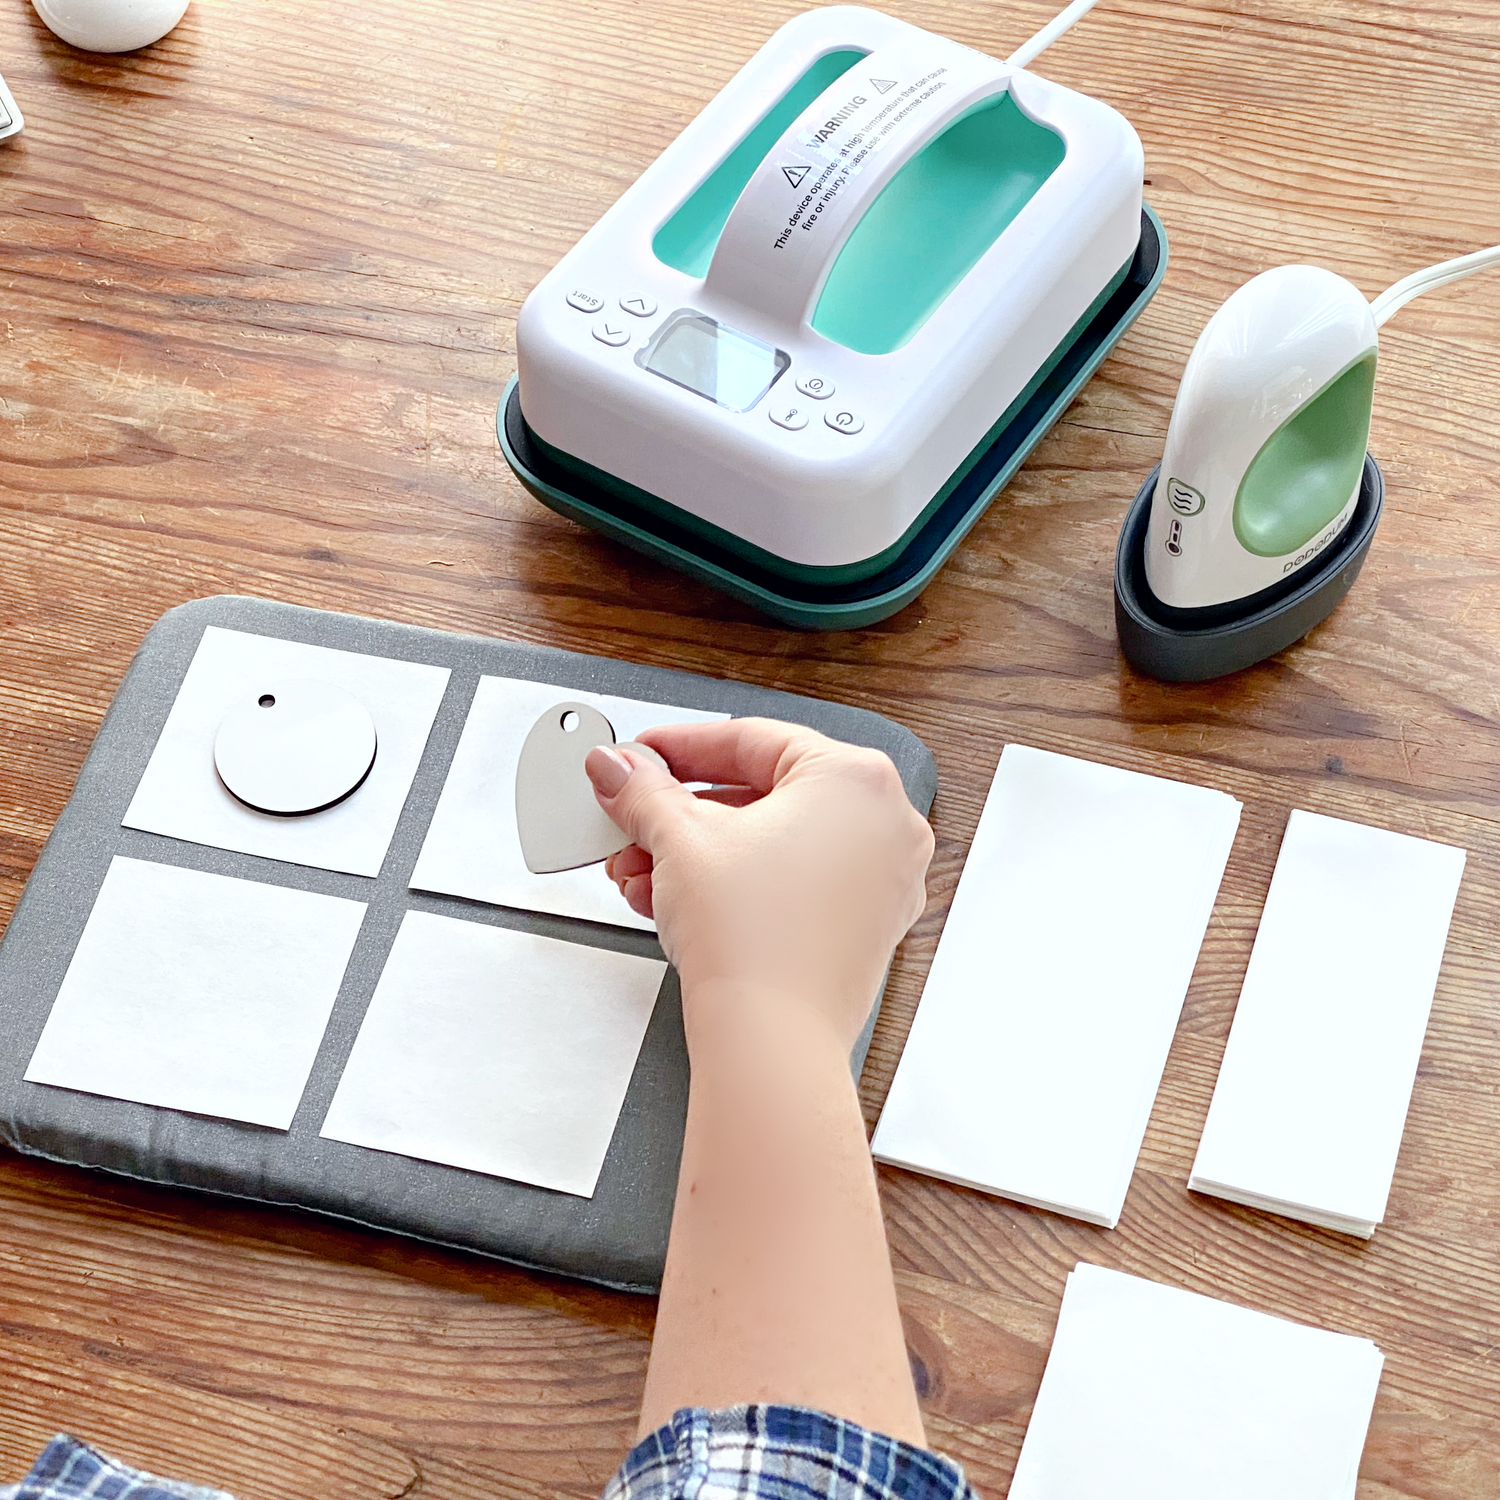
- Requires butcher paper above and below for protection
Phone Cases (plastic)
- Temperature: 356°F
- Time: 50-60 seconds
- Pressure: Light to Medium
- Lower temp prevents warping
Coasters (hardboard)
- Temperature: 400°F
- Time: 60 seconds
- Pressure: Heavy
Understanding Heat Distribution
Even heat distribution is crucial for professional results. This is where your protective materials play a vital role that many crafters underestimate.
The Role of Protective Barriers
Butcher paper isn't just about keeping your heat press clean – it's an essential part of achieving even heat transfer. Here's why:
Heat Diffusion: Quality butcher paper helps distribute heat evenly across your project, preventing hot spots that can cause uneven color transfer.
Moisture Management: Butcher paper absorbs moisture released during sublimation, preventing it from interfering with the transfer process.
Pressure Distribution: It acts as a buffer that helps distribute pressure evenly, especially important for textured or uneven substrates.
Contamination Prevention: Fresh protective paper for each project prevents previous ink residue from affecting new transfers.
Using precut butcher paper ensures consistent coverage and eliminates the guesswork of cutting pieces to size. When you're working with precise temperature and timing requirements, having consistently sized protective materials is one less variable to worry about.
Troubleshooting Common Issues
Faded or Incomplete Colors
Possible Causes:
- Temperature too low
- Insufficient time
- Poor pressure contact
- Old or low-quality sublimation ink
Solutions:
- Increase temperature by 10-15°F
- Add 10-15 seconds to press time
- Check pressure settings and plate levelness
- Verify ink freshness and quality
Blurry or "Blown Out" Images
Possible Causes:
- Temperature too high
- Excessive time
- Transfer paper moving during process
- Poor quality protective materials
Solutions:
- Reduce temperature by 10-15°F
- Decrease press time
- Use heat-resistant tape to secure transfer
- Upgrade to higher quality protective papers
Ghosting (Double Images)
Possible Causes:
- Transfer paper sticking to substrate
- Insufficient protective barrier
- Opening press too soon
- Poor quality transfer paper
Solutions:
- Allow proper cooling before removing transfer
- Use fresh protective paper for each press
- Wait until substrate cools to touch
- Invest in premium transfer paper
Uneven Color Distribution
Possible Causes:
- Uneven pressure across press plate
- Warped or damaged press plates
- Inconsistent protective materials
- Substrate not lying flat
Solutions:
- Check press calibration and levelness
- Replace worn protective materials
- Use thicker, more consistent protective barriers
- Pre-press substrates to remove wrinkles
Advanced Temperature Techniques
Multi-Layer Projects
When combining multiple elements (like sublimation with HTV), temperature management becomes more complex:
- Complete sublimation first at full temperature
- Allow cooling
- Apply secondary materials at their required temperature
Thick or Unusual Substrates
Thicker materials may require:
- Slightly higher temperatures
- Longer press times
- Heavier pressure
- Multiple protective layers for heat retention
High-Volume Production
For consistent results across multiple pieces:
- Preheat your press and allow temperature to stabilize
- Use a timer for every single press
- Replace protective materials regularly
- Check calibration daily
Creating Your Reference System
Successful sublimation crafters keep detailed records:
Test Log Template
- Date and substrate type
- Temperature, time, pressure settings
- Results and observations
- Photos of finished pieces
- Notes for future reference
Quick Reference Cards
Create laminated cards with settings for your most common projects. Include:
- Substrate specifications
- Exact temperature and time
- Pressure level
- Special notes or tips
Seasonal Considerations
Temperature and humidity affect sublimation:
High Humidity: May require slightly longer press times to account for extra moisture
Cold Workshops: Allow extra time for equipment to reach proper temperature
Hot Workshops: Ensure adequate ventilation and cooling time between presses
Quality Control Testing
Before starting any important project:
- Test with scrap material using your planned settings
- Adjust if necessary
- Document successful settings for future use
- Keep test samples for comparison
The Economics of Precision
Getting temperature and time right the first time saves money:
- Reduces wasted materials
- Prevents substrate damage
- Eliminates do-overs
- Builds customer confidence if selling
Perfect sublimation is a skill that improves with practice and attention to detail. By understanding the science behind the process and maintaining consistent practices – including using quality protective materials that ensure even heat distribution – you'll achieve professional results that make your projects stand out.
Ready to master your settings? Download our Temperature & Time Quick Reference Guide with detailed charts for over 20 common substrates, plus troubleshooting tips for perfect results every time.
What substrate has been the trickiest for you to get right? Share your temperature and timing challenges in the comments – let's solve them together!

